In this post, I’m going to explain everything you need to know about how to control the camera. It’s surprisingly easy. I will cover: an overview of the preset positions and how to create new presets.
Preset positions

Press CAM 1. You only need to do this once when the camera has turned on i.e. once per service.
Now press any of the 0-9 buttons in the middle of the controller. These move the camera.
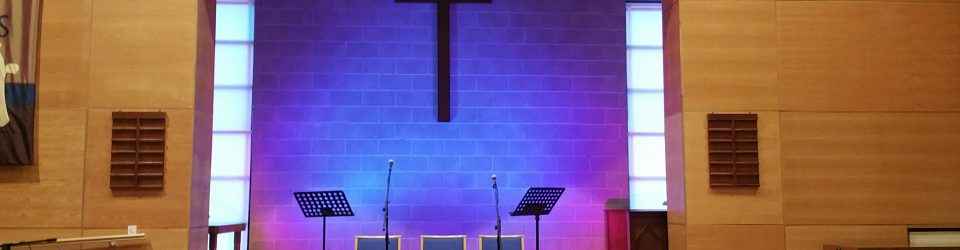
1, 2 & 3 are left to right on the stage. The Bible, The Pulpit and the Lectern respectively. They are all slightly off to the left so that there is space to show the PowerPoint box to the right.
4, 5 & 6 are the same as 1, 2 & 3 but centred. This way you can show the person talking without the PowerPoint if you want to.
8 is a wide-shot of the hall.
7, 9 & 0 are available for you to create new positions if you need to.
How to create new preset positions
Use the joystick to move around. Left and right move the camera (you guessed it) left and right. Forwards and back are up and down. If you twist the joystick clockwise or anti-clockwise it will zoom the camera in or out.
When you move the camera into a position that you want to save, press and hold the number that you want to save. You can use 7, 9 or 0 for this.
If you need to overwrite 1-6 or 8, please reset them afterwards for the next person.